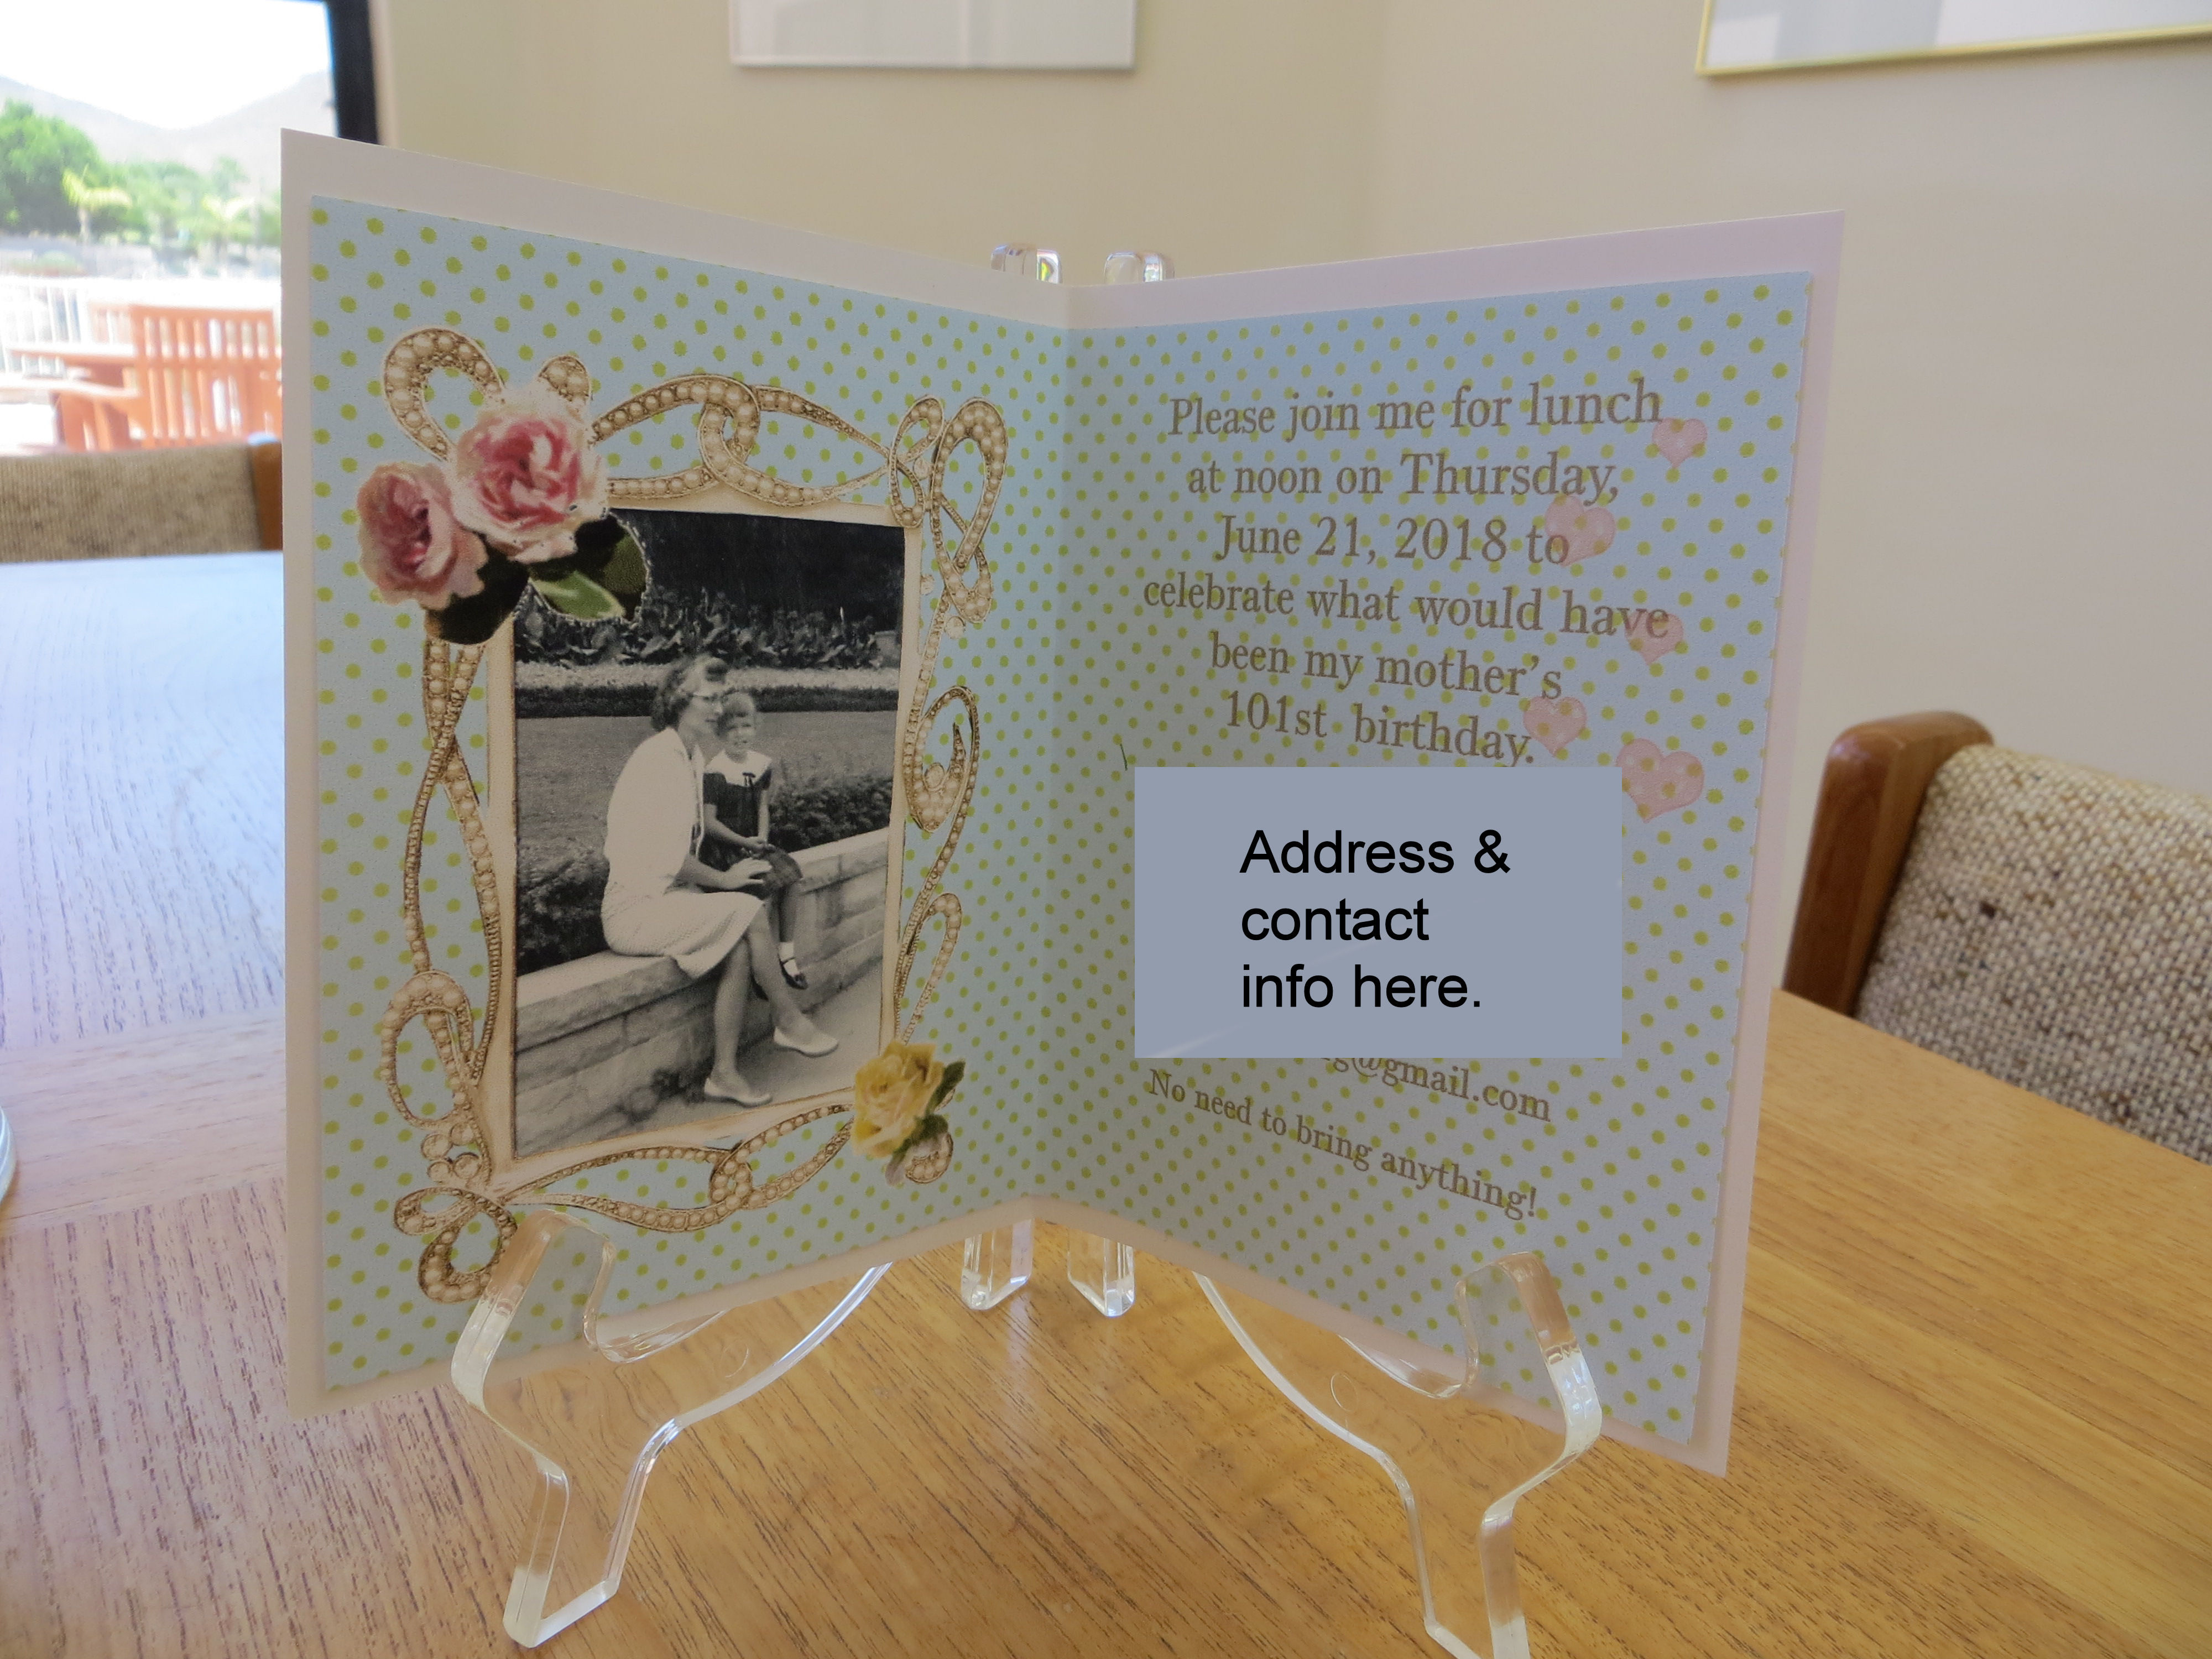
Invitations sent! This year’s theme was polka dots (I LOVE polka dots!) & roses.

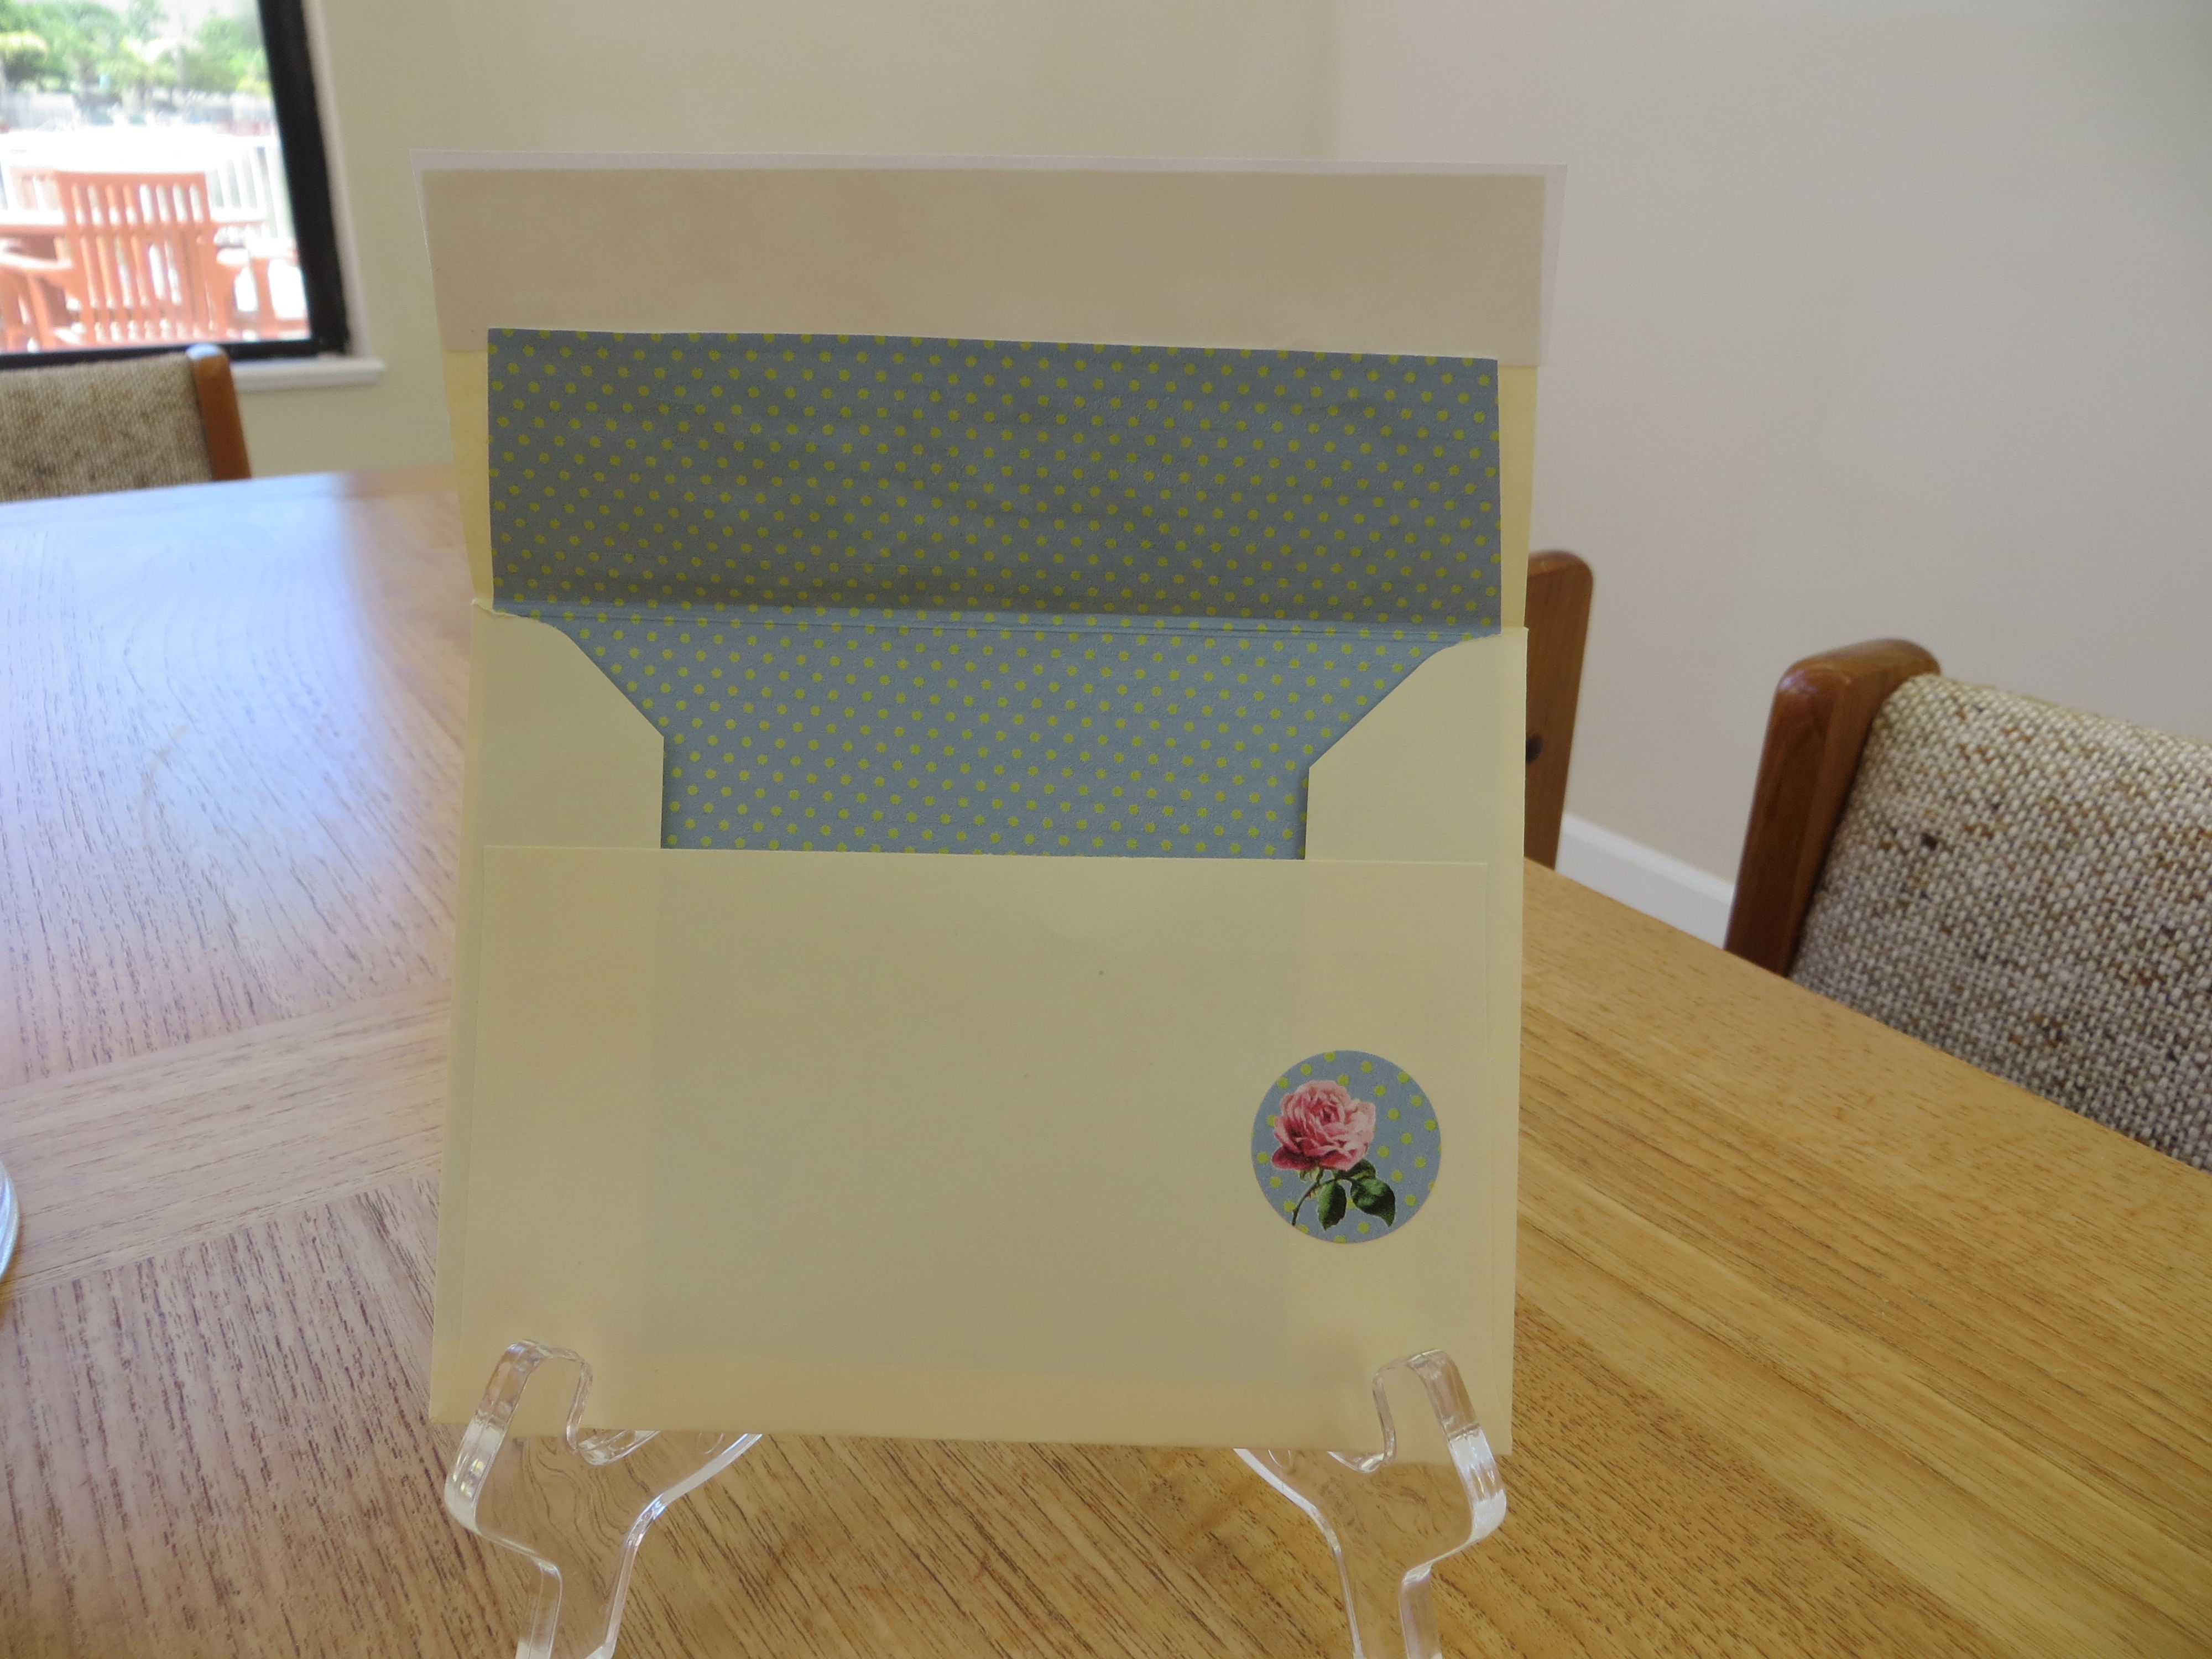
Once again, I made the stickers for the envelope flaps to match the invitations (lower right in the photo below). I’ve been making cards since 1996 and this is the first time I’ve ever lined the envelopes. I got the idea from a Cricut page on Facebook.
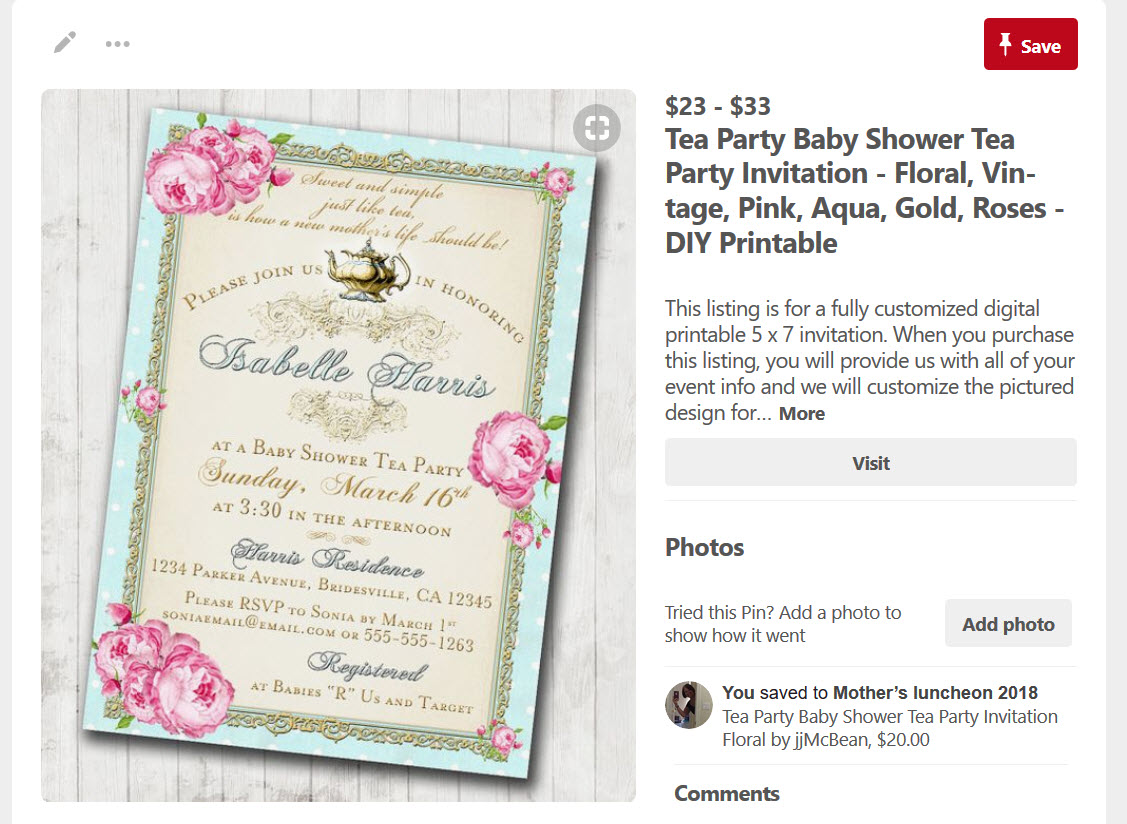
Since I’m not terribly creative, I always need a springboard. The inspiration for the invitations came from this Etsy item I found on Pinterest.
Which reminded me of one of my favorite mugs…
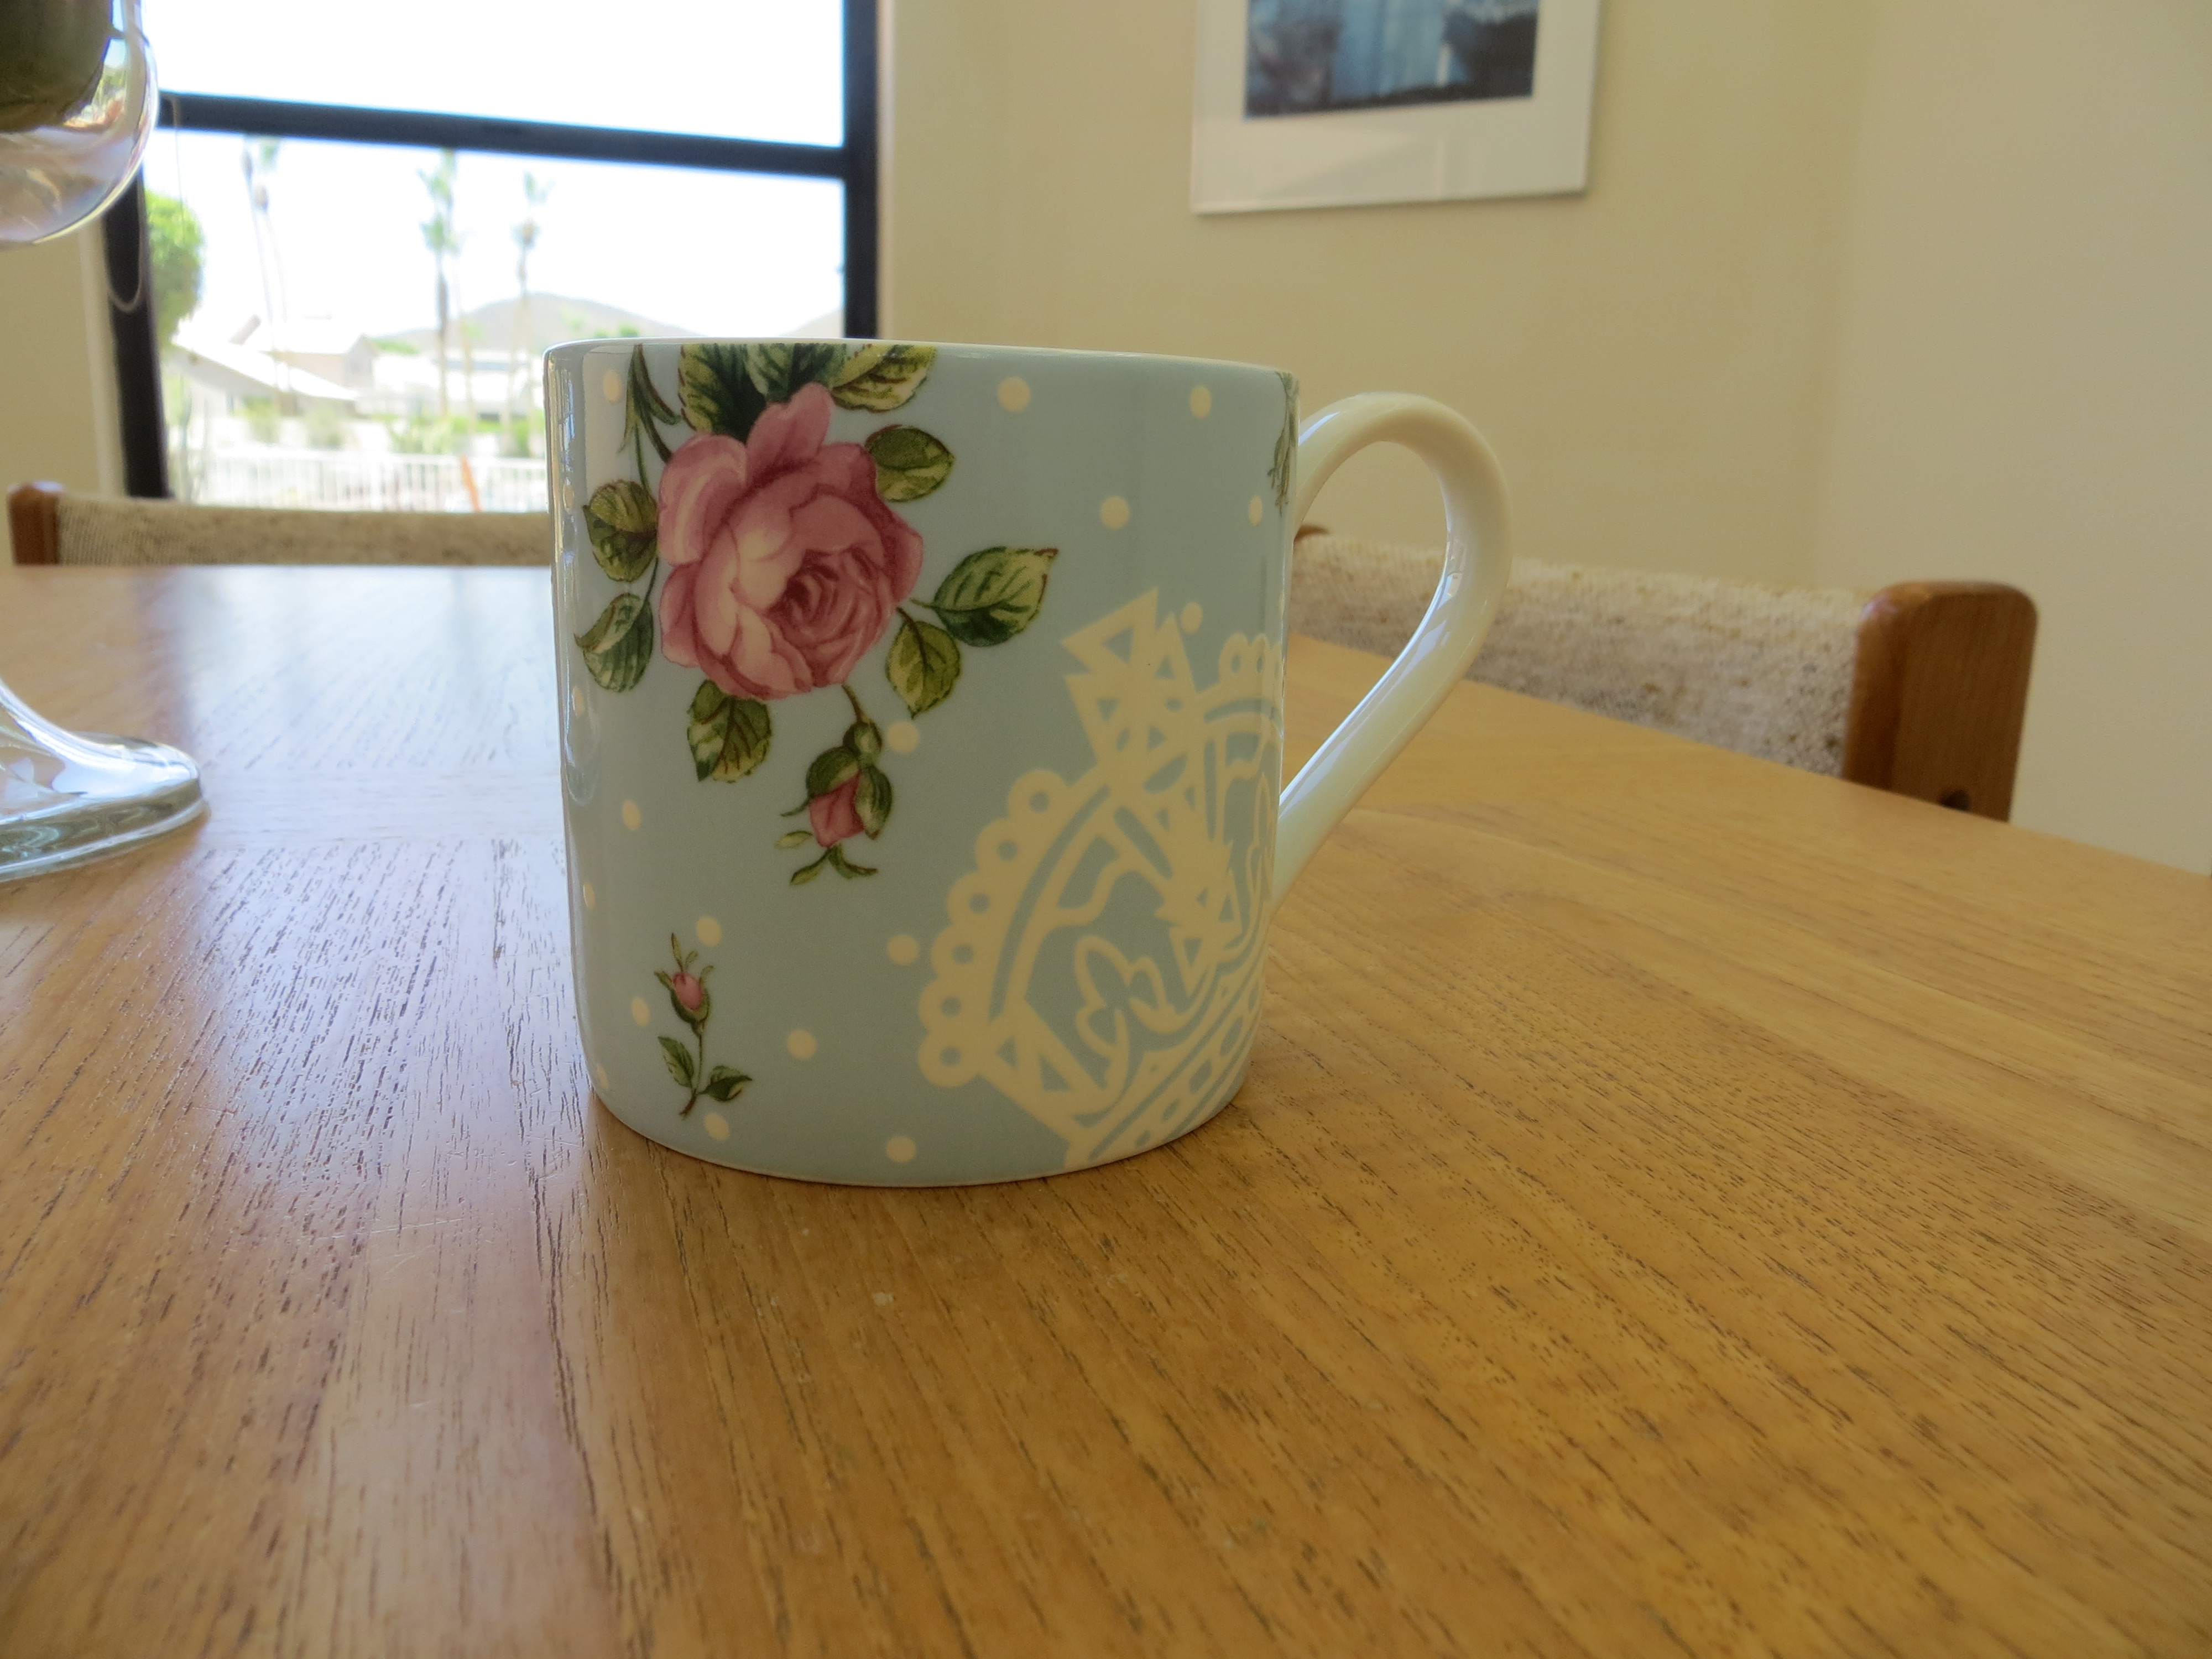
Are you starting to see a theme here? Although I love buying fresh roses, I admit that I was surprised when I kept gravitating to roses for this year’s invitations. But after the invitations had been mailed & I was dusting our bedroom, I reached for this “knick knack” that had always been in my mother’s home from as far back as I can remember up to the day she took her last breath… and I knew that’s what she wanted.

The first step was finding the digital paper. Last year’s invitations were on large polka dotted paper. So this year, I searched my files for some medium or small polka dot digital paper & found this…
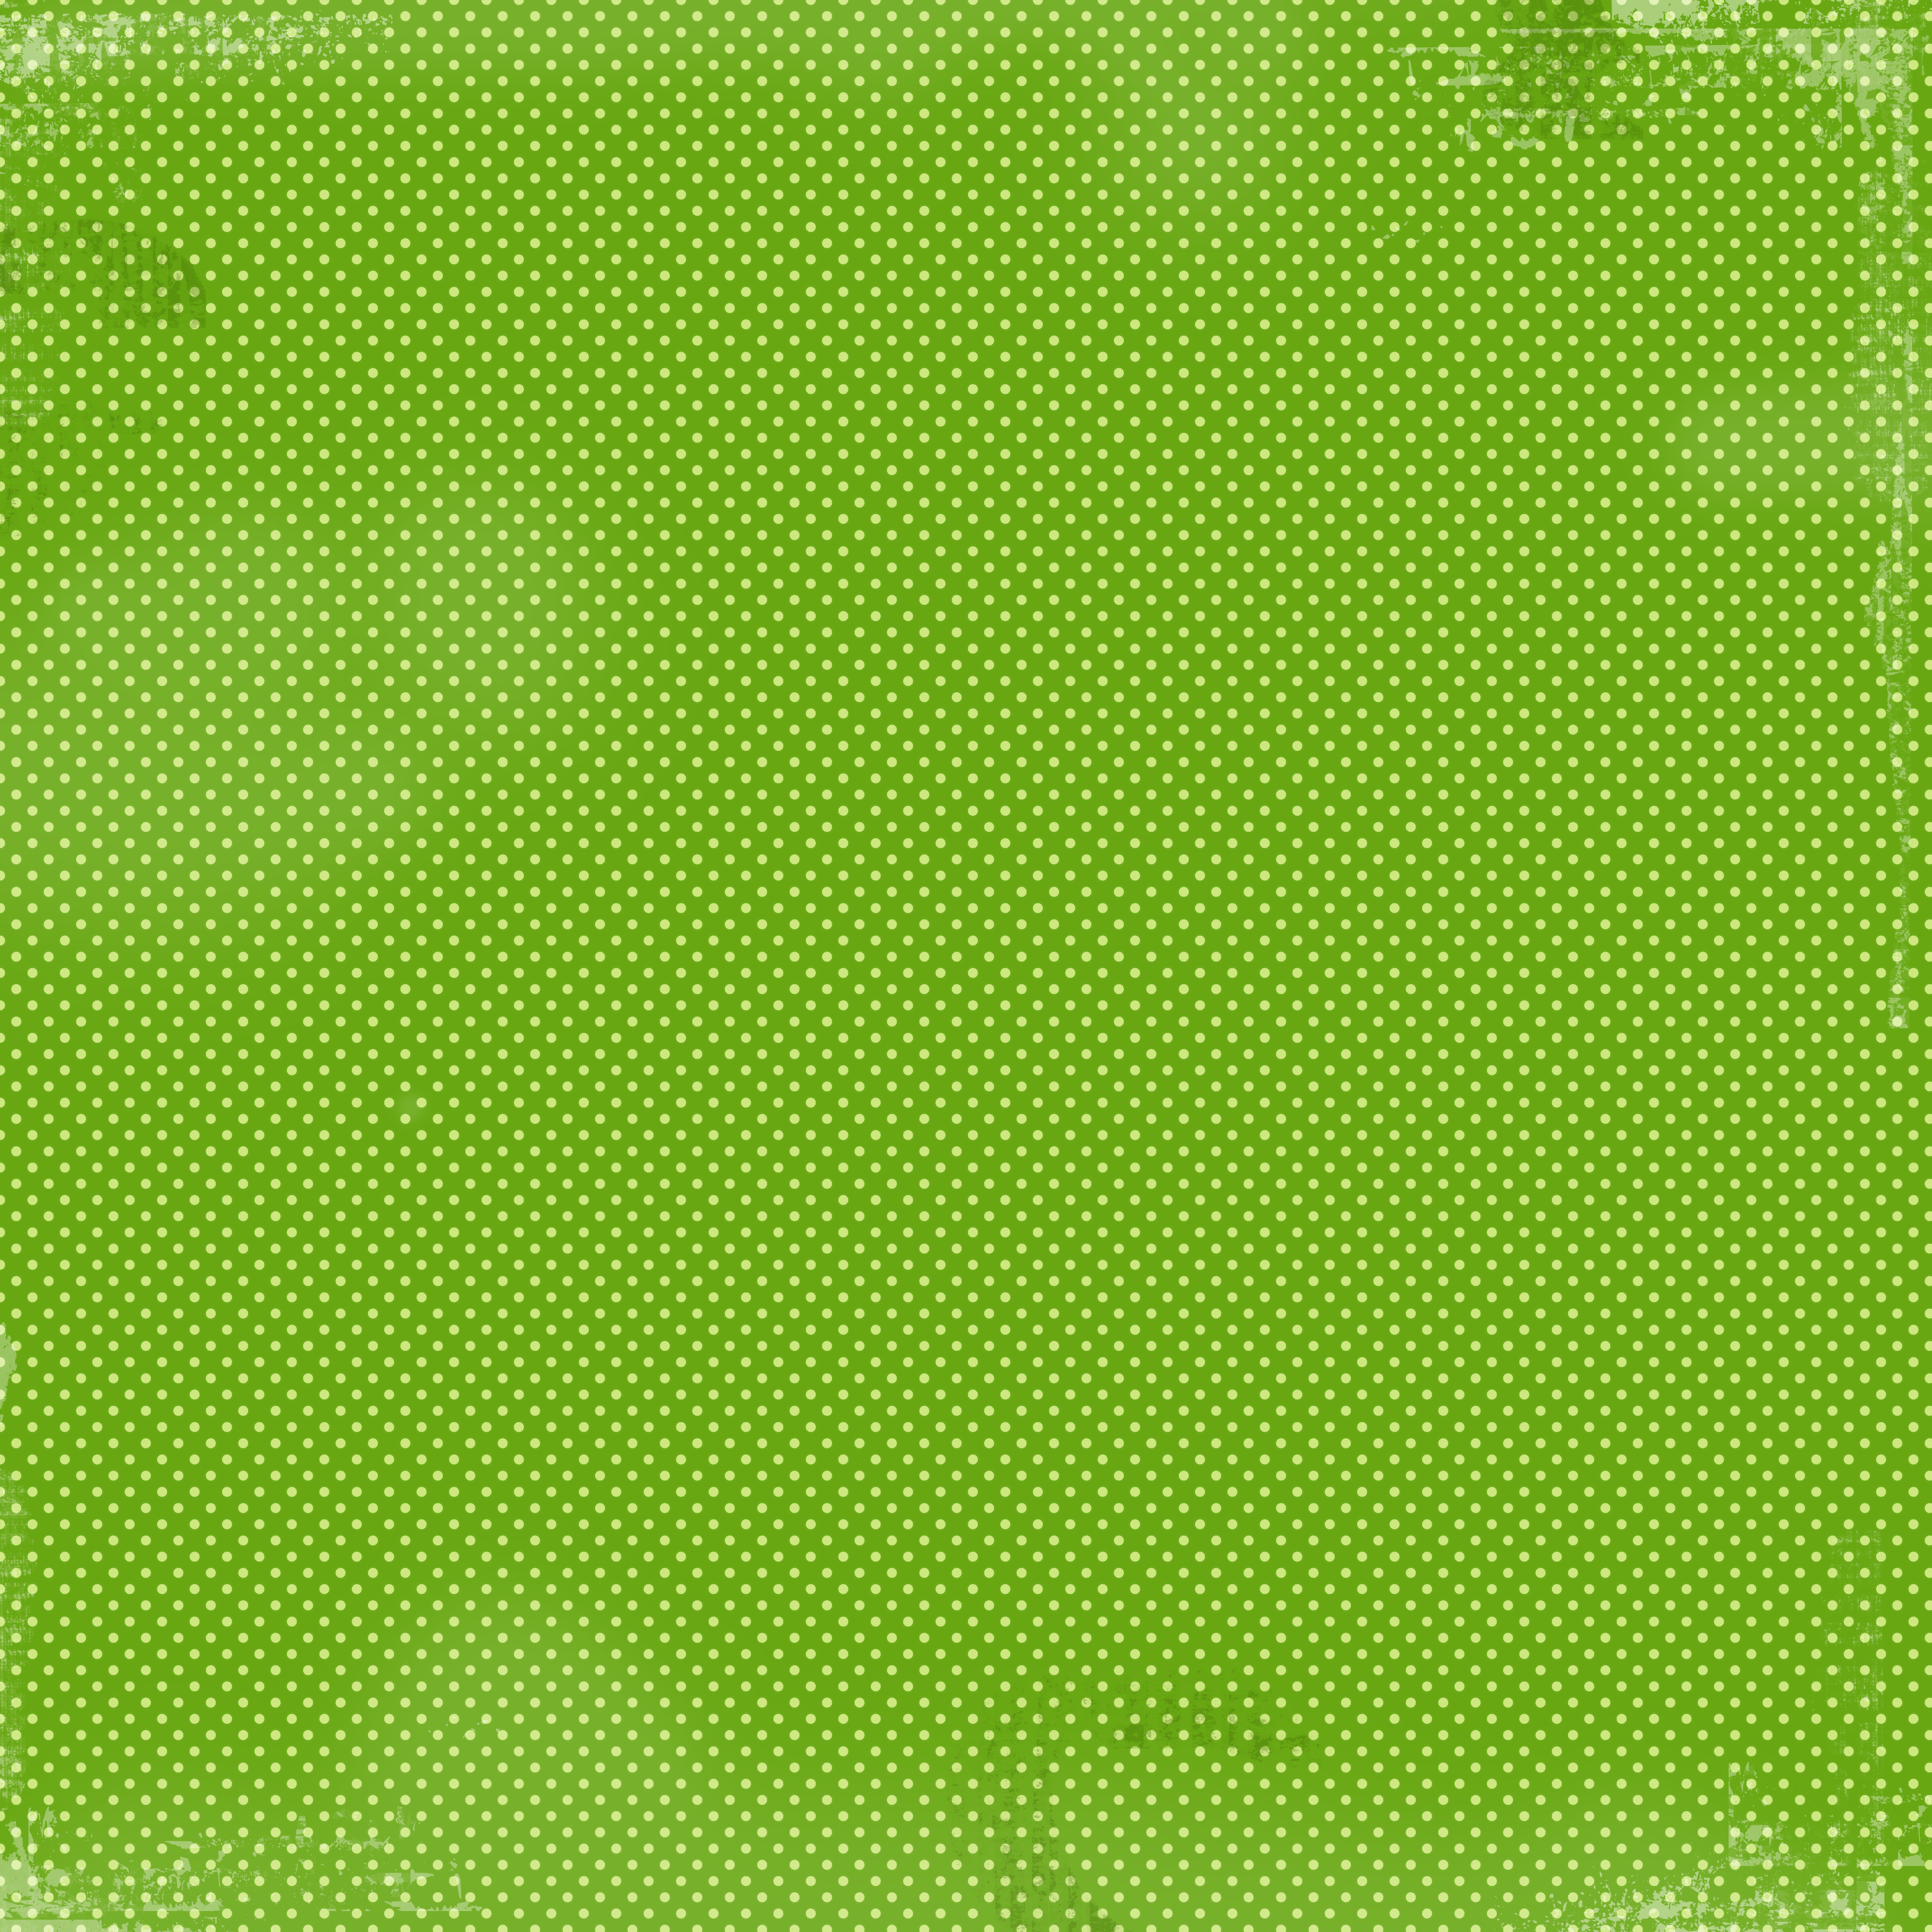
…and in PSP9, changed it to this…

The invitations were then done in Craft Artist 2 (I LOVE this software!) and I found a gold frame for the photo. The gold foiled front plate was a Cricut “Print Then Cut”. I printed them out on my laser printer, foiled them, then overlaid the ivory color with an inkjet printer, then cut them out with the Cricut. The foiling was kind of blotchy. I don’t know if it’s because of my printer (not laying down enough toner – I *do* use a generic refill) or due to the laminator. I kind of suspect the former. But I went with it anyway… hoping most people wouldn’t notice the black splotches.
I used a Cricut “Print Then Cut” to make the envelope liners that match the invitations. I measured the envelopes & through a series of adding shapes, slicing & welding in Cricut Design Space, I was able to make the liner. Then uploaded the digital paper that I created in PSP9 (for the invitation) as a pattern & filled the liner shape with it.
Craft Artist 2 was also how I made the envelope stickers (for the envelope flap).
I have my mailing address list in an Access database & use Label Designer (from Cam Development) to do my mail merge.
Used a few different Anna Griffin roses (via Cricut) to “Print Then Cut” some rose embellishments that were added to the front with pop dots. Finished them off with a couple of small pearls on the gold frame.
Now… on to planning the party!!!
Leave a Reply