I’ve been making my own cards, on my computer, for over 20 years. But I’m relatively new to the crafting/scrapbooking/hybrid world, having discovered it in early 2012. So new to me was the Minc. There is an Anna Griffin branded version (6 inches) of the Minc as well as a Heidi Swapp branded version (12 inches). What a neat tool! It’s clearly more versatile if you have (or have access to) a laser printer. But laser printers are pretty cheap these days and certainly the price per page (with respect to ink/toner refills) is less expensive with laser printers than inkjets, if you do much black/white printing.
Anyway… I watched the HSN launch of Anna Griffin’s Minc & noticed in one part that Anna said the Minc didn’t work well on colored papers. So she launched a kit of white papers to be used with the Minc. I figured if she’s willing to go on record for this, it must be true. My initial trials confirmed what she said. The Minc may not work well on anything other than white paper/cardstock. BUT…if you are willing to use digital papers, there is a workaround!!!
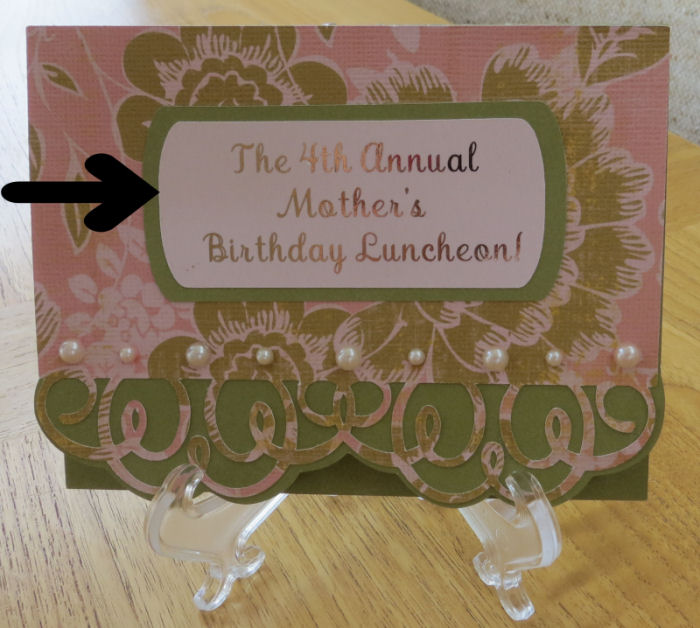
Here is the final product, which is strictly the label/tag/sentiment announcing what the event is. It may look like it’s printed on white paper, but it’s not. It’s printed on a very light pink digital paper. I will show you how I did this.
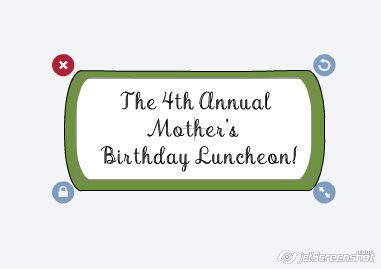
Here’s how it looked in Cricut Design Space:
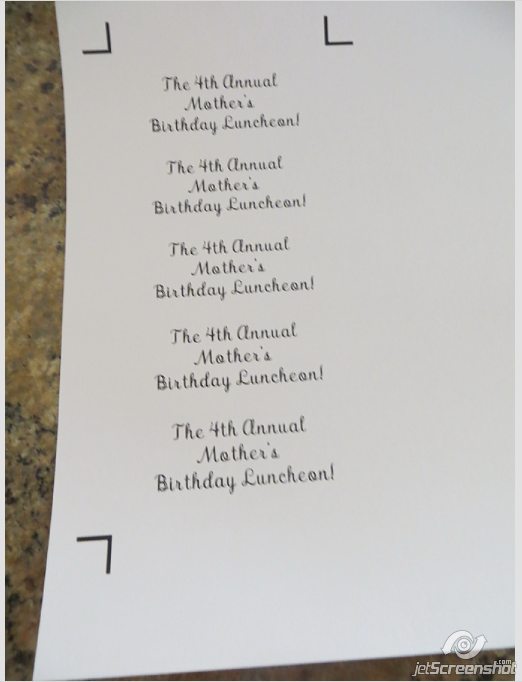
I made the text part a print-then-cut & copied & pasted it four times, so it would print/cut five on a single sheet.
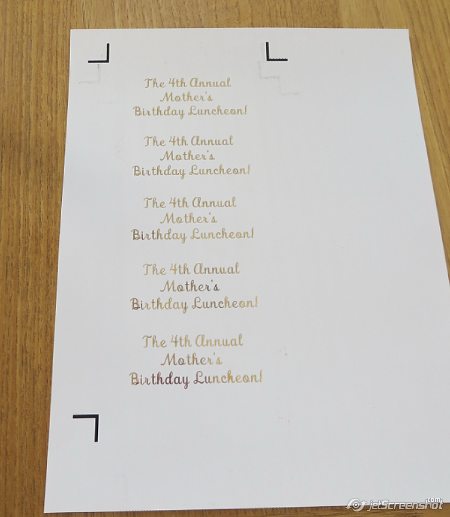
I then printed to my laser printer:
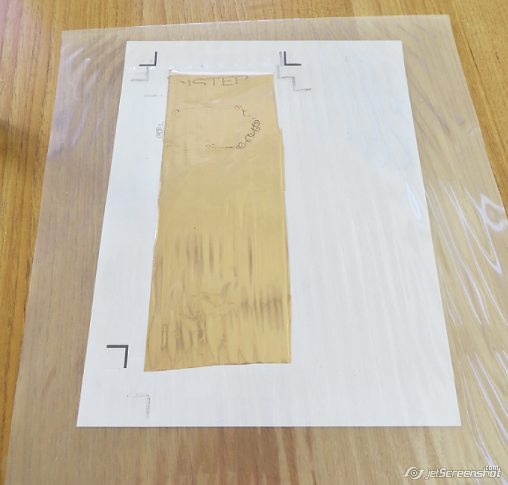
Next, foil it. I used the Heidi Swapp Minc, since it will accommodate paper up to 12 inches. The Anna Griffin one is only six inches wide.
Here is the foil over the laser printed sheet, ready to run through the Minc.
The result…after running through the Minc & removing the foil:
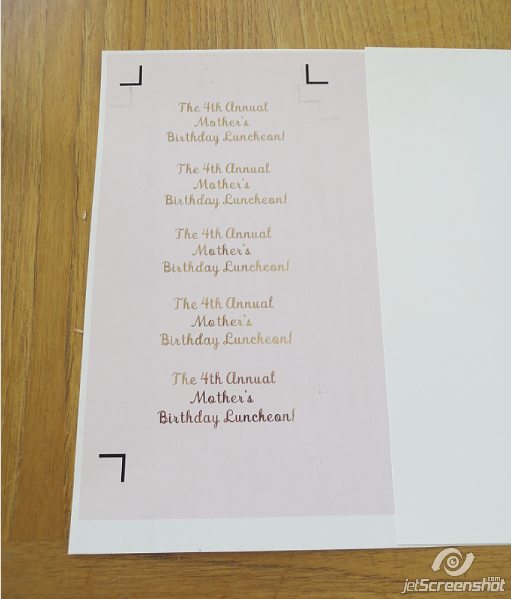
Now…run it through the inkjet printer to lay down the digital paper (very light pink). For comparison, I’ve put a sheet of the white card stock on the right. It’s the same card stock I started these labels with.
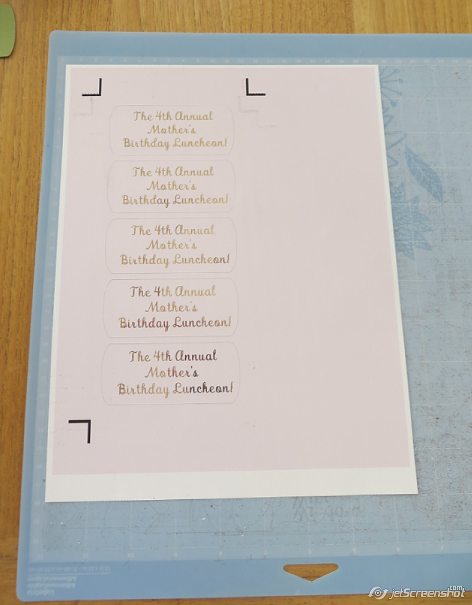
Now, do the cut part of “print then cut”:

I hope you’ve found this helpful!
Leave a Reply